Kombucha Class
Huber Family Homestead Kombucha Recipe
Huber Family Homestead Kombucha Recipe
I had the great pleasure of being able to teach my very first homesteader class through my local extension office this last Tuesday. I had a complete blast and hope I will be able to teach more in the future. For those of you who were unable to attend or would like a refresher of your own, please stick around till the end to see my tried and true kombucha recipe.
The evening started off with me leaving both my boys (one is two months old and the other is two years old) home with Hubby, while my daughter and I loaded up and headed into town. three days earlier, my daughter had given her very first presentation through 4-H and I was excited to show her that it doesn’t have to be scary to talk about things you know and love even for more than her 60 second presentation on how to plant a sunflower seed (did I mention that this is her first year in Cloverbuds?).
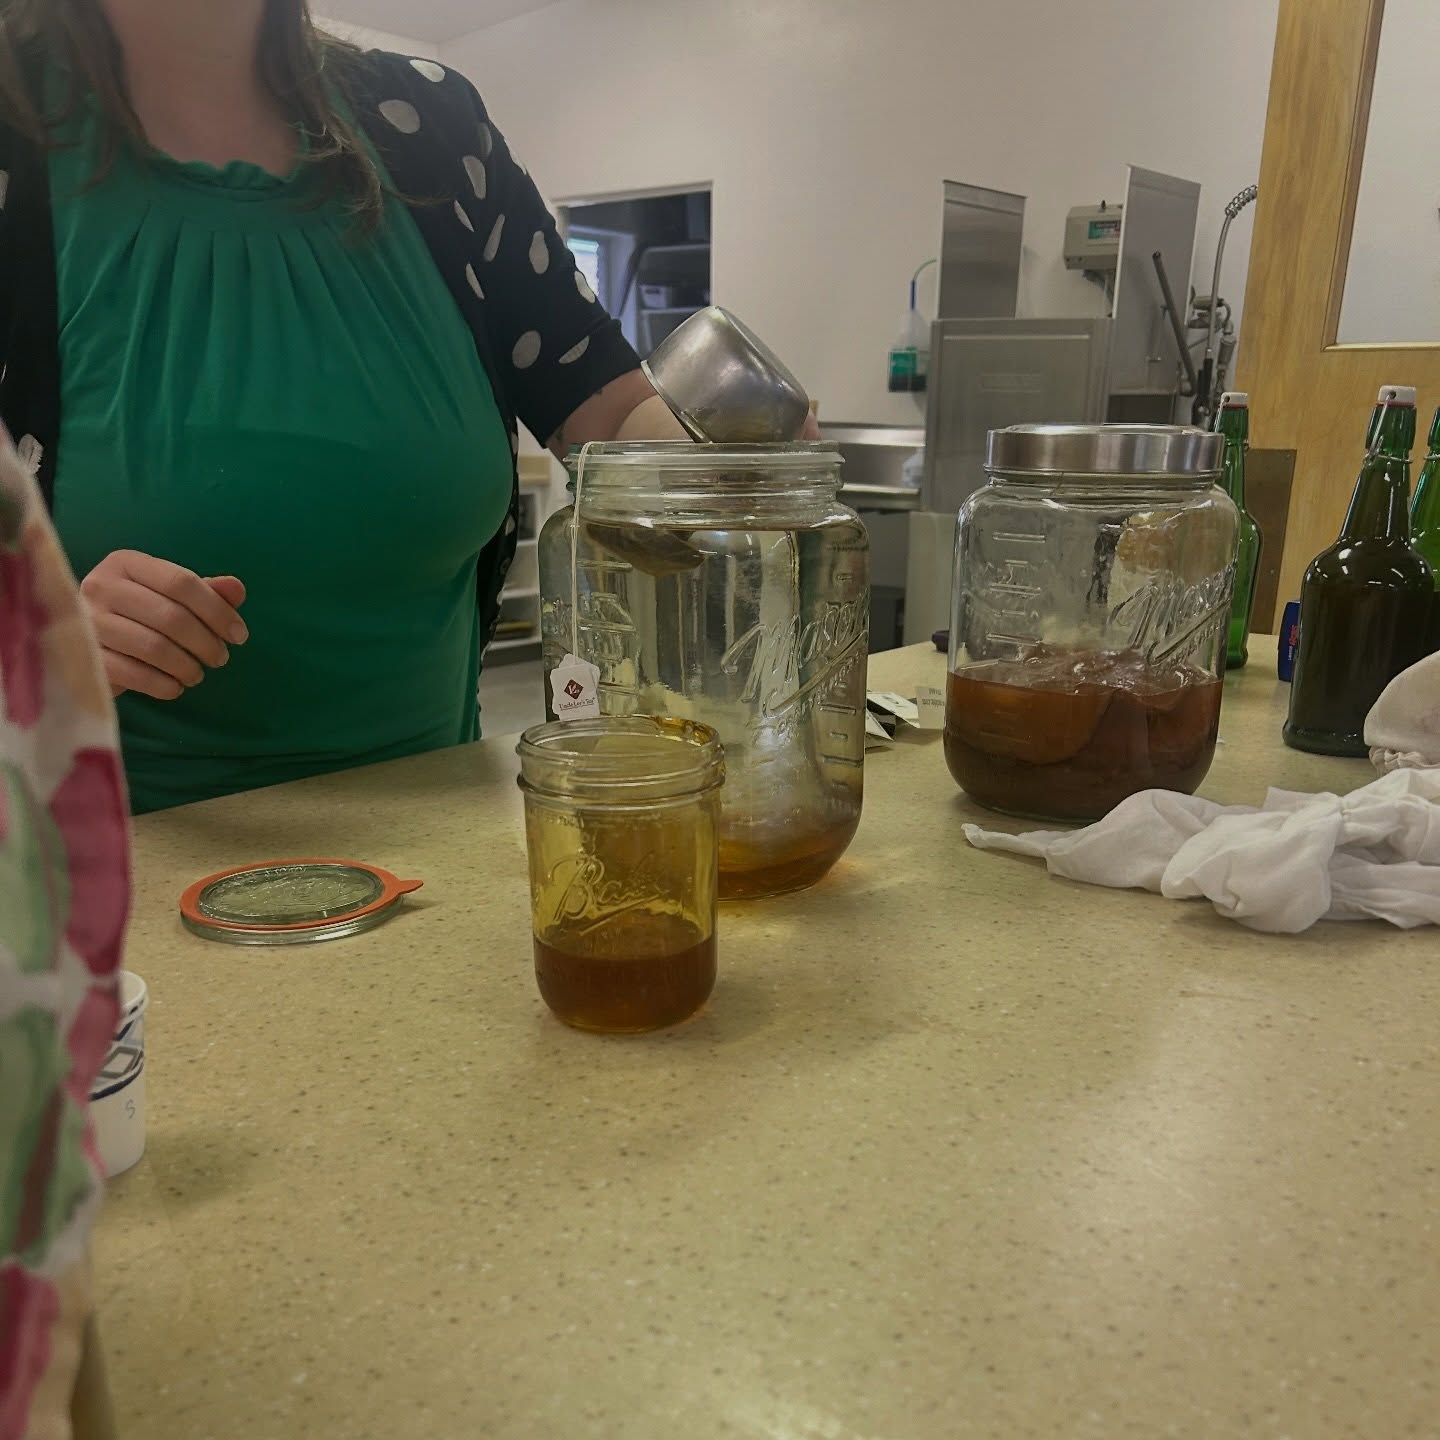
About 11 people were in attendance, which for a small farming town around calving season seemed pretty decent. The attendees were able to learn the basic information about kombucha, pellicles, SCOBYs and Jun, watch the process almost start to finish (water takes a long time to cool), and ask any question throughout the process. They even got to feel a kombucha pellicle in all of its squishy-ness.
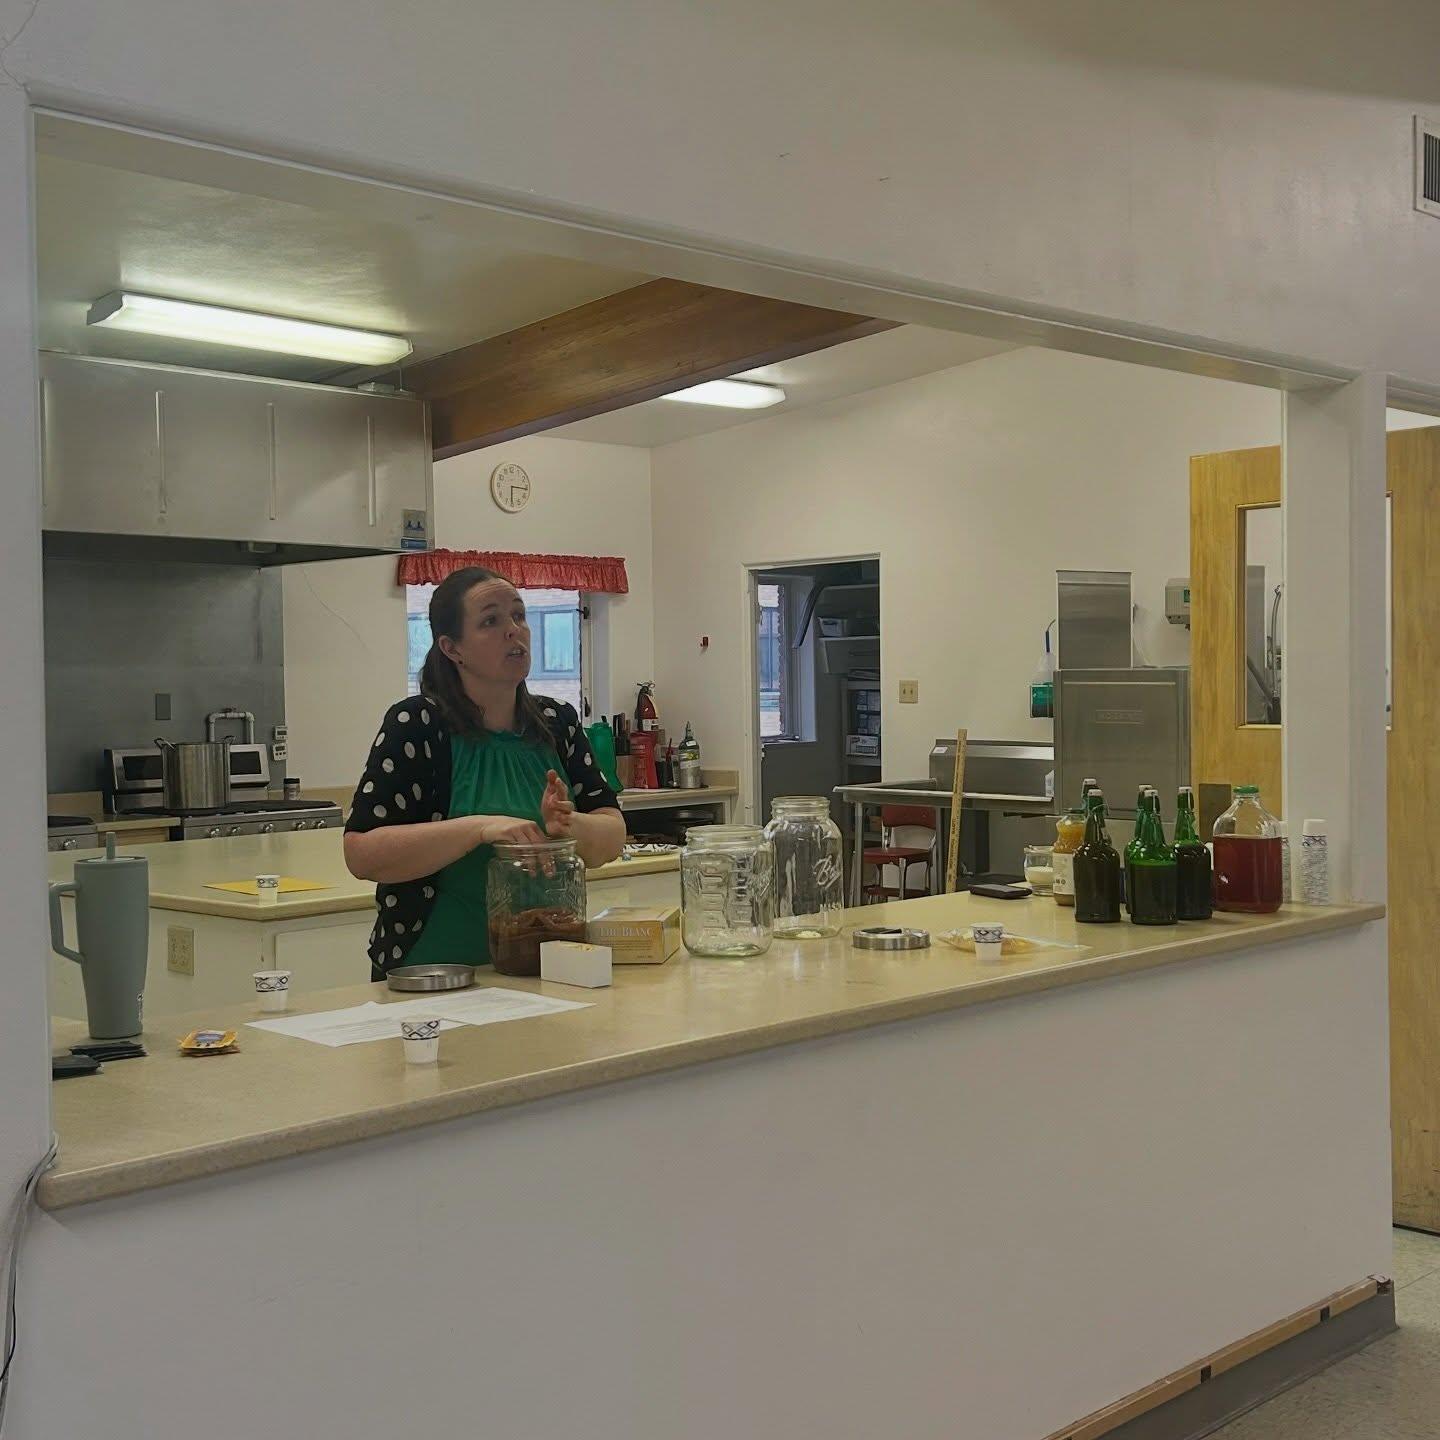
I had a couple SCOBYs/pellicles which I was able to provide to people who were interested in starting right away, and to those who will be still too confused/worried to completely start. To the later group, please don’t forget to feed your SCOBY, and remember, if it becomes forgotten, they are very beneficial to chickens even when they are dry/dead!
For those who are excited to start brewing right away, here is the recipe that I have perfected for my own brewing and the steps involved. if you start your brewing now, you can come back next week to learn about doing a second fermentation to add some carbonation and extra flavors! There will also be a link to purchase your own SCOBY/Pellicle from us here at Huber Family Homestead- we can even ship!
Items needed
10 black, green, or white tea bags (or a mixture of 6 black/white/green and 4 flavored)
Start by bringing your water to a boil. Once it starts boiling, add 1 cup of sugar into the water to dissolve. Add your tea bags into the water and cover to steep until desired strength. I usually do it for a pretty long while - 30 minutes to 2 hours. Remove tea bags at the desired time and let your tea cool to room temperature. Once at room temperature, transfer your tea to a gallon jar and place your SCOBY on top. It may sink or float- both are normal. Cover your jar of tea and SCOBY with a tea towel or coffee filter. Secure with a rubber band or string and let sit until you get your desired flavor/ fermentation (Mine is usually about a week). Once you get your desired fermentation strength, remove your SCOBY. You may keep your kombucha in the jar you brewed it in (now with a tight lid) or divide it into individual serving jars. Place it in the fridge to make sure it doesn’t continue active fermentation. Use the Kombucha within 10 days. The longer you keep it, the more it will build fermentation so be sure to burp the jars from time to time.
As for the SCOBY-place it in a glass container along with enough kombucha to keep it from drying out, then cover with a tight lid and place it in the fridge as well. It can keep in the fridge for about a month before having to tend to it.
Huber Family Homestead Kombucha Recipe

We Welcomed Our Third Baby